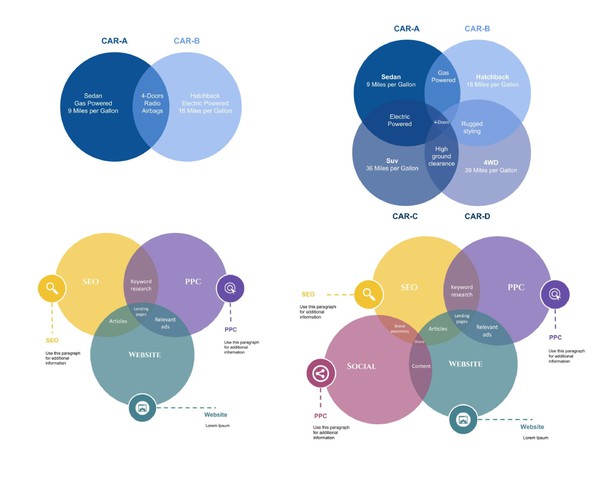
Venn diagrams are a great way to visualize the relationships between different sets of data. They are widely used in various fields, including education, research, and business. If you need to create a Venn diagram for your project or presentation, you can do so easily and quickly using the free templates available on Google Docs.
In this article, we'll walk you through the 5 steps to create a Venn diagram in Google Docs in 2023 using premade templates:
- Access the Venn diagram templates: Go to the link Venn Diagram Google Docs Templates to access several Venn diagram templates with different designs and layouts.
- Make a copy of the document: To have the possibility to copy the figures of diagrams in the template you need to copy first a whole document to your Google Drive, click on the "File" menu and select "Make a copy" from the drop-down menu. Give your copied document a new name, then click "OK".
- Copy the Venn diagrams: Choose the Venn diagram you want to use, then press "Ctrl+C" on your keyboard to copy it. Alternatively, right-click on the diagram and select "Copy" from the context menu.
- Paste the Venn diagram: Navigate to the document or presentation where you want to use the Venn diagram, then press "Ctrl+V" to paste it into your document.
- Customize the Venn diagram: Resize the diagram, change its color and shape, and add labels or text to each section to provide more information or context.
In conclusion, creating Venn diagrams using the free templates on Google Docs is easy and straightforward. You can save time and effort by using these pre-designed templates and customizing them to your specific needs. So next time you need to create a Venn diagram, consider using the free templates available on Google Docs to get the job done quickly and effectively.